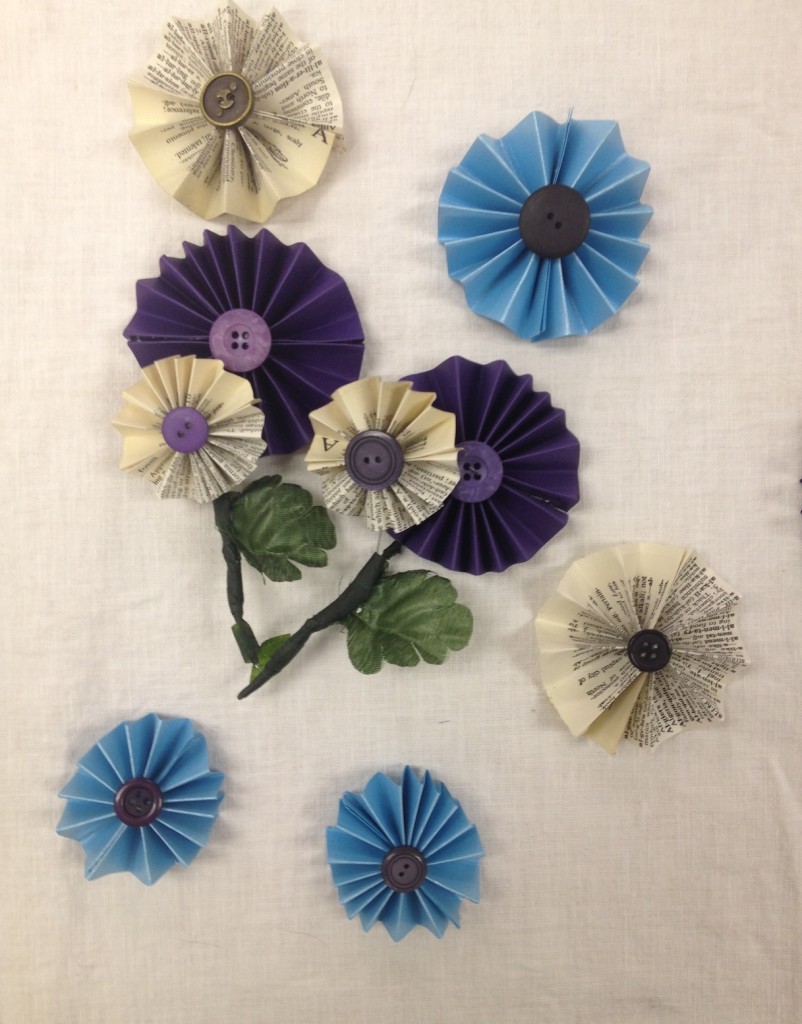
DIY wedding boutonniere
A unique and money saving twist on the wedding boutonniere is this easy DIY.
These DIY wedding boutonnieres are made from plain paper, paper from vintage books and cute vintage buttons.
Each boutonniere takes about fifteen minutes to make and requires only a few simple supplies. See our useful links further down for sourcing craft and wedding supplies.
Flowers without stems also make beautiful table decor.
Our video walks you through each step of this DIY, or you can refer to our written instructions below.
DIY wedding boutonniere instructional video
Supplies
- Measuring tape
- An old book for vintage paper
- Coloured paper of your choice
- Scissors
- Glue gun (low heat)
- Buttons
- Wire
- Floral tape
- Safety pin
- Fabric leaf
Instructions
- Select your coloured paper, measure three inches and rule a straight line
- Cut along this line so that you now have a long strip of paper
- Fold this paper accordion style as if you were making a fan
- Once all the paper is folded, bend in half forward and then back
- Fan the paper out and you will have a flower
- Seal the edges with a glue gun ON LOW HEAT
- Using your safety pin, poke one hole at the bottom of the flower
- Measure around six inches of wire and cut
- Thread the wire through the hole, twist and seal with glue
- Add your chosen button using glue
- Repeat all steps with the vintage paper, but this time use a smaller slice of paper
- Intertwine the two flowers
- Wrap with florist tape or ribbon
- If using for decor, do not use wire or poke holes in your flower
If you try this DIY, let us know how it goes by sharing your comments below.
Useful links
