No sew “build a tree” advent calendar
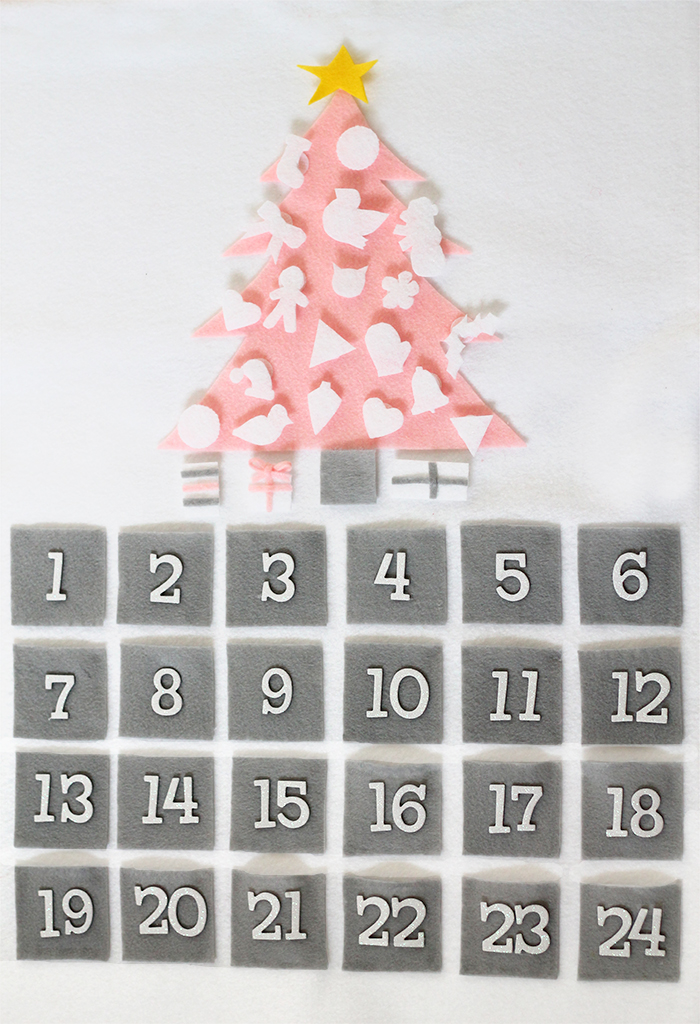
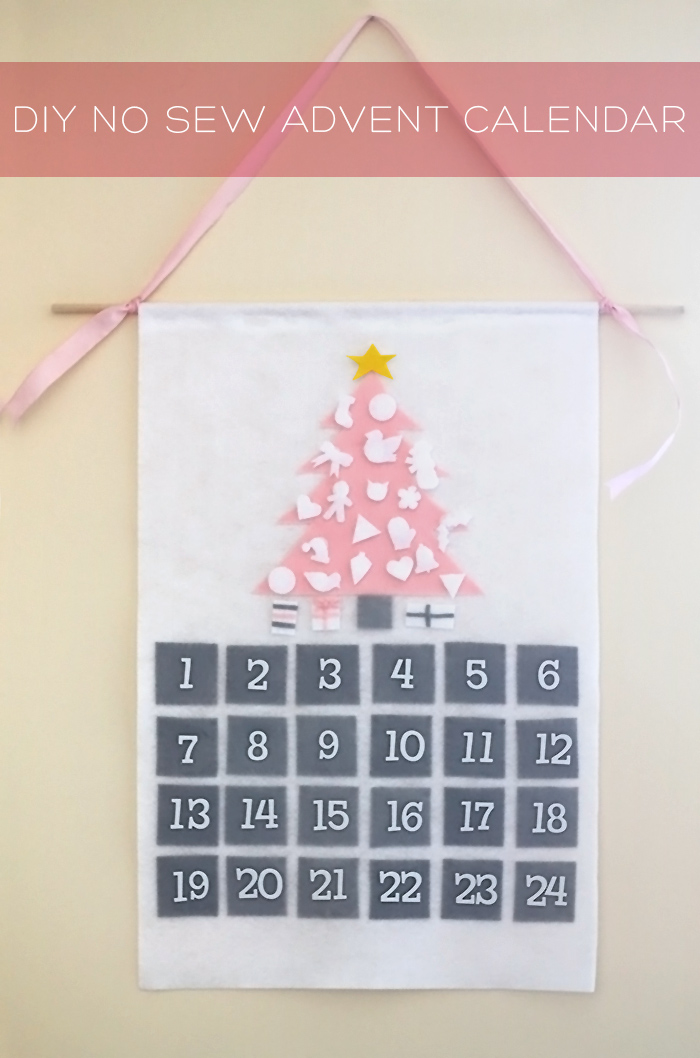 I love making old things new again, so when I saw my husband’s childhood advent calendar, a red piece of felt with green felt pockets, a green felt christmas tree and multi coloured felt ornaments, I knew I had to make an updated version.
The calendar goes up, as per usual, on December 1st. Each day someone gets to sneak their little fingers into the day’s pocket to reveal the ornament and place it on the tree. What goes up on December 24th? The star of course! Watch your Christmas tree fill up with ornaments the closer you get to Christmas.
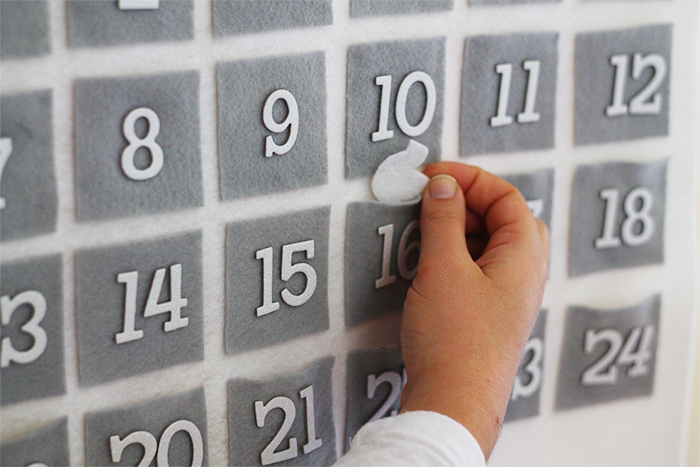 This is a fun, non chocolatey way to countdown the days! And the best part? You can use it year after year and you don’t have to sew a single thing.
Materials
1 large piece of felt cut to 18 x 30 inches
1 sheet of felt for the tree (9×12)
2 sheets of felt for the pockets (9×12)
1 sheet of stiffened felt for the ornaments (9×12) (if you want multiple colours for your ornaments, get several sheets of felt)
1 sheet (or a scrap if you have it) yellow felt for the star ornament (best if it’s stiff felt but not necessary)
Thick (chipboard or foam) number stickers, enough for 1-24 (I used thickers)
24 adhesive velcro rounds
Dowel, 5/16″ thick cut to 24.5 inches long
Ribbon
Hot glue gun and glue
Ruler or measuring tape
Scissors
Paper
Pencil
 For the main colours, I went for a white background, pink tree, white sparkly ornaments and grey pockets – quite a soft and girly combination. You can really play around with the colours to create the look and feel you want for your advent calendar.
Super traditional: Stick with reds and greens and multicoloured ornaments
Household full of boys (or girls who love blue): Dark blue background, light blue pockets and a green tree
Scandinavian vibe: White background, red pockets and a dark grey tree
Colour Lover: A white background, a lime green tree and several bold colours for the pockets and ornaments.
Steps 1 Cut out a Christmas tree on a large piece of paper (the size of your felt). To make it even, fold the paper in half, draw one side of the christmas tree then cut it out and unfold. Lay your Christmas tree on top of your felt and lightly trace with a pencil. Carefully cut it out.
2 Cut out 24 squares for your pockets, 6cm by 6cm
3 Lay your christmas tree and pockets on top of your large piece of felt. Make sure the Christmas tree is centred, with about a 12cm margin at the top. Leave a 6 cm margin between the bottom of the tree and the top row of pockets, a 2cm margin between the outside pockets and the edge of the white felt, and a 1cm margin between each pocket.
4 Place hot glue on three sides of each pocket and press down for a few seconds into place on the white felt.
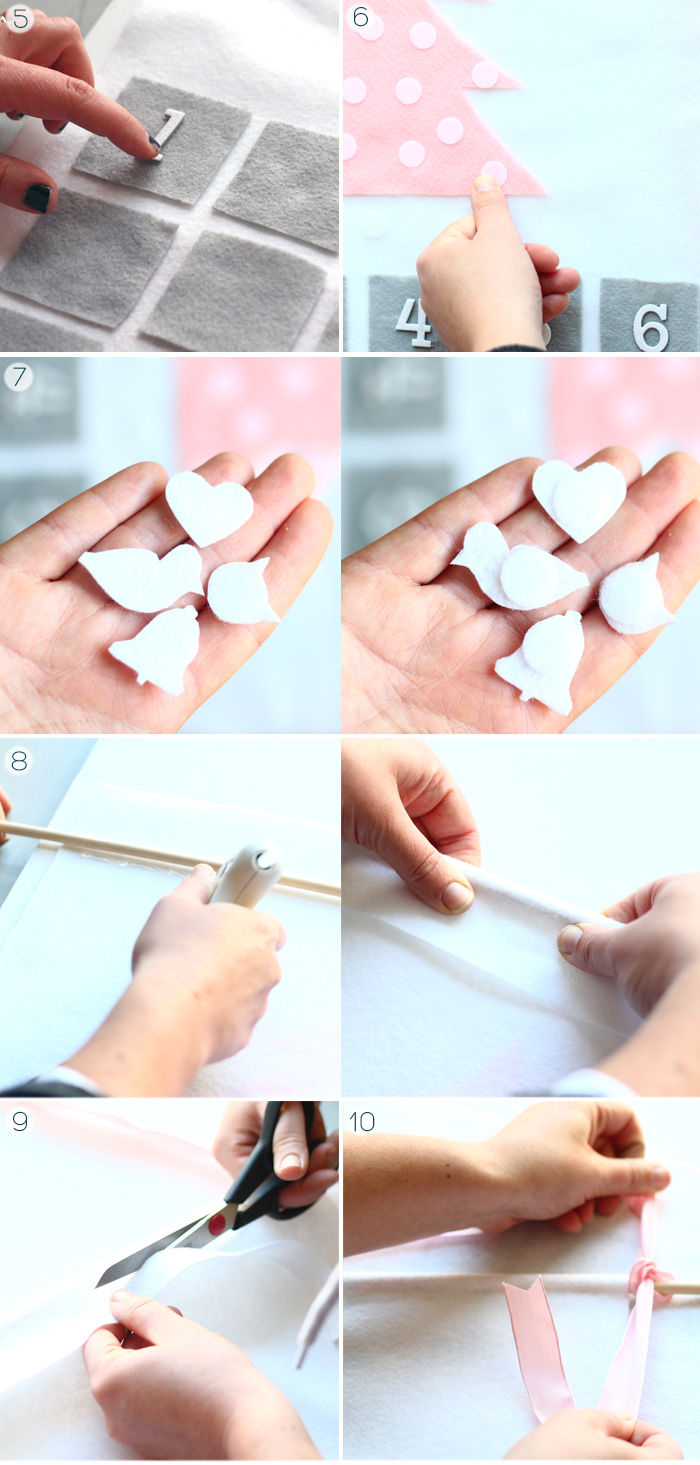 5 Place the thick number stickers on each pocket in order from 1 to 24. I added a bit of extra hot glue to make it more secure.
6 Place the rough part of the velcro stickers onto the tree. These can be randomly assorted, but make sure to add one to the top of the tree for the star. If desired, you can also add one to the bottom centre of the tree for the tree trunk/tree skirt (which I put in pocket number 1) and a few beside it for presents as I have done (for pockets 21-23).
7 Cut out various ornaments from your stiff felt, then adhere the soft side of the velcro on the back side. Some examples of ornaments I cut were: a bell, a stocking, a cat, hearts, triangles, a bow, birds, a gingerbread man. You can really use your imagination with this part! Use bright yellow felt for the star, the last piece to come out of pocket 24.
8 Flip your calendar over and place your dowel about 8 inches from the top. Place a line of hot glue (about 10cm at a time) below the dowel then fold the felt overtop. Press the felt onto the hot glue for several seconds to ensure it adheres. Continue until the entire dowel is covered over in felt.
9 Carefully trim excess felt.
10 Tie a ribbon to each end of the dowel. Hang, place ornaments in each pocket and countdown to Christmas!
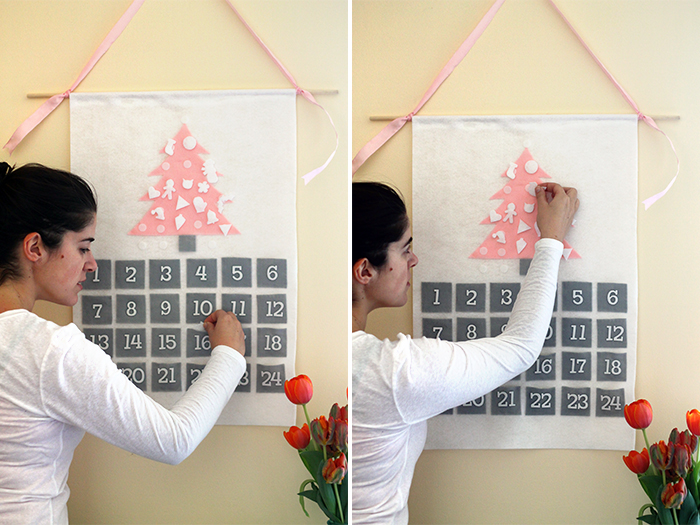 Give yourself an afternoon to create this project and that’s that! Countdown time!

 Work smart. Not hard.


