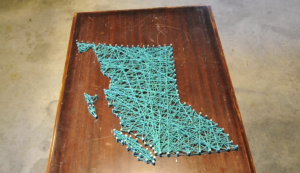
String map tutorial
Inspired by travelling, we have created a wall piece DIY project that will showcase your favourite place and display a dream destination. This DIY string map takes only a few hours to complete and costs less than $10. We always enjoy a fun project that involves upcycling!
Take a look at our tutorial video for step-by-step directions:
What you need:
- A piece of wood for the backdrop. Pallet wood or an old coffee table top, like we used, both work (use your imagination)
- A paper map or a hand drawn outline
- Nails
- A hammer
- String – you can get creative and use different colours or varieties of string
- Scissors
- A lighter
Instructions:
1. Find a piece of wood to use as your backdrop. For our string map DIY we used a coffee table that we found on our local Used.ca
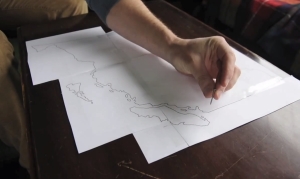
2. Print out your map making sure it is large enough for your canvas, and lay it on your wooden backdrop
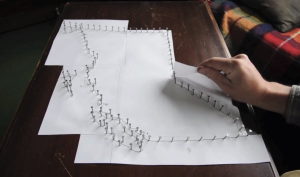
3. Hammer nails into the wood around the map’s outline – about 1 cm apart from each other
4. Remove the map from the board and recycle it
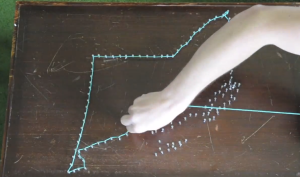
5. Wrap each nail with string to create a border to work with – to do this start by tying string to the first nail, and continue looping it around the remaining nail heads
6. Tie off the string and cut it – to remove any frayed ends melt them with a lighter
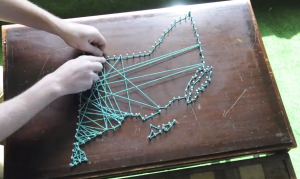
7. Once you have made a border, fill it in with the string. To do this you can make a style choice: either evenly loop your string from nail to nail for a clean look, or you can randomly criss-cross the string around the nails for a web-like design
8. Continue looping the string until the inside of your map is full
9. Title your map and, if needed, saw the legs off your coffee table
10. Hang and enjoy!
