A little DIY chair makeover for your weekend
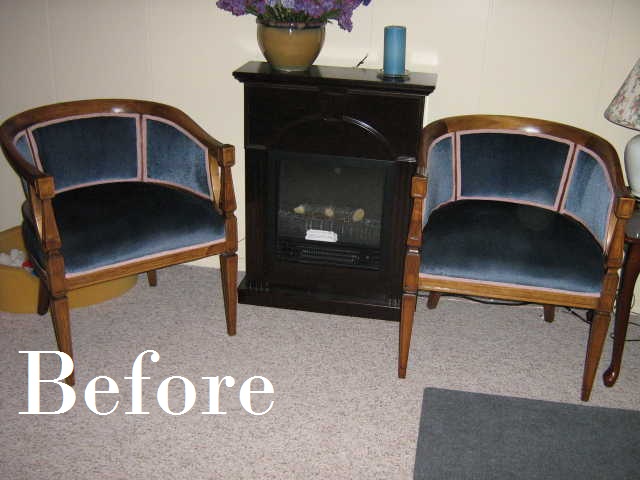
Remember this post about the perfect pair of chairs I bought via UsedRegina?
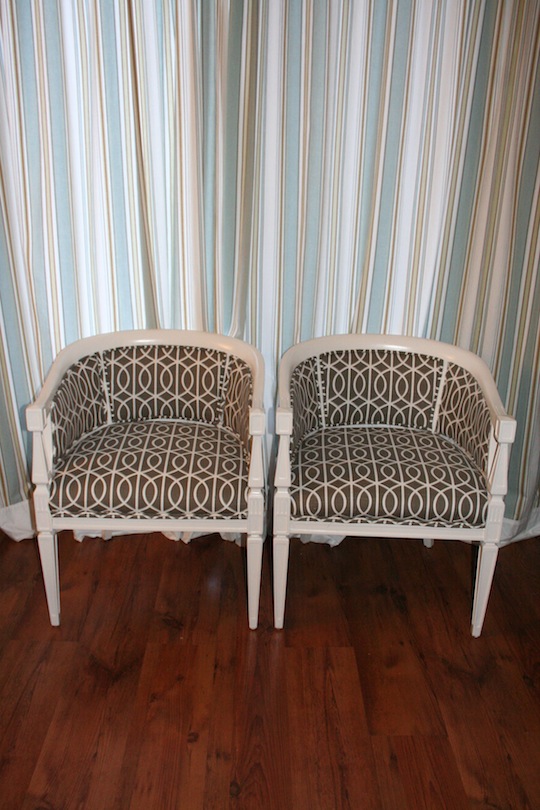
Well, after some hard work, some free babysitting from the grandmas, and a whole lotta’ staples, we have some snazzy “new” chairs! Hooray!
And here’s what I did…
*DISCLAIMER* I am in no way professional. I have never taken an upholstery class. I haven’t even read an upholstery book. (gulp.) But I’ve upholstered 3.5 chairs and half a couch to date. And I’ve read a lot of blogs on the matter. So. If you’re looking for some serious knowledge, I may be a poor source. If you’re looking for a creative I-can-do-it-and-so-can-you tutorial, keep reading! If you’re a real upholsterer… please leave some comments to tell us the proper way to do it!
STEP ONE: DECONSTRUCTION
An important, though tedious stage. AAAaaand you might even find old spare change. SCORE.
Begin taking the chair apart carefully, studying how it was assembled. Take lots of pictures as you go. Save all the pieces for future reference. And as you remove the fabric label each piece so that you know where it came from (“inside right”, “seat”, etc.). For this I usually just use a Sharpie marker and write it right on the old fabric.
This process of deconstruction will mostly include removing staples. A lot of staples. You’re going to begin to despise staples. You’ll go out with friends and find twisted old staples in your pockets. Your hands will be sore and gnarled from the time spent removing staples. You’ll begin to dream about removing staples. OK, I’m being a bit melodramatic. But I feel it’s only fair to warn you that this process is crummy. And this can take a while. So put on a good movie (or, like, every single extended-cut film in the Lord of the Rings series), and begin removing the little suckers. For this I just used a flat head screw driver to lift them out, and a pair of pliers for back up when those dang staples got stubborn.
STEP TWO: CHOOSE YOUR FABRIC
For upholstery you want to make sure the fabric you choose fits the following criteria:
1. Reasonably priced. Because you’ll need plenty – especially if you mess up. And a major motive of DIY is being Mr. Cheapy McCheaperson, right?
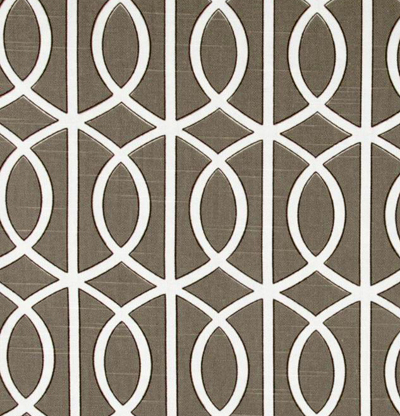
2. Proper weight. Look for home decor fabric that is good for upholstery (the fabric description should say this). You want something that, when pulled, doesn’t stretch and go all wonky. You should be able to hold it up to the light and not see much, or any light shine through it. And you should be able to rub it together and not find it pilling, shedding, or creating any other undesirable fuzz, goo, or gunk.
3. So Freakin’ Awesome. After the work you put in you’d better love this chair. And loving the fabric is key to this.
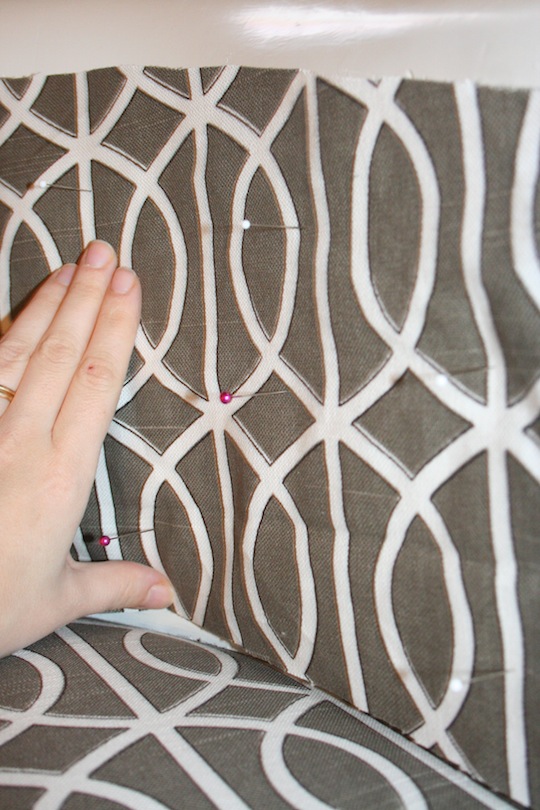
Also consider that if you’re using a patterned fabric that you may need to have extra fabric on hand so that you can centre the pattern on the seat or back. If your pattern is a geometric print you’ll need to especially watch that the pattern matches up (if that’s important to you).
OPTIONAL STEP: REFINISHING FRAME/LEGS
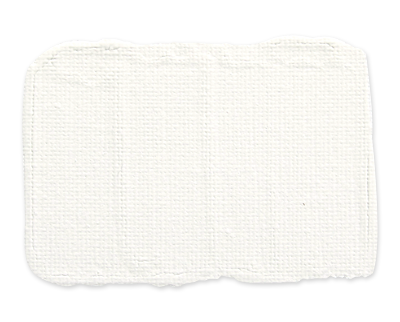
If your piece has a visible frame or legs you may want to consider refinishing it with stain or paint. For me, I wanted my chairs to look more modern, so I painted them a great off-white called “Bisque” from the Sarah Richardson collection for Para paints.
I used Para’s oil paint for a hard-wearing, slightly glossy finish.
STEP THREE: CUT YOUR PIECES
Now take all of the fabric pieces you carefully removed, labelled, and set aside (riiight?), and use them as templates to cut new pieces of fabric.
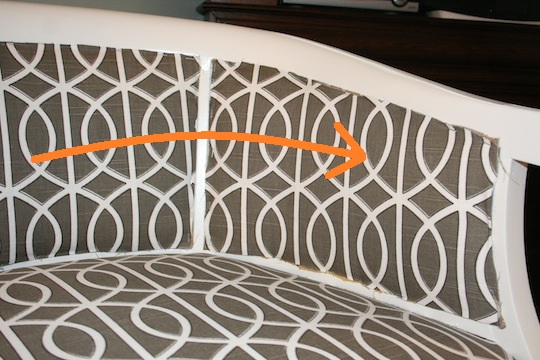
If there is pattern on your fabric make sure it is centered nicely, and that the different pieces will line up according to your liking
OPTIONAL STEP: RE-BUILDING THE CHAIR
Some people buy and cut new foam. But I’m too cheap to do this. Some people redo the springs, coils, webbing, or whatever else hides inside your chair. I’m too lazy to do this. I just make sure I find sturdy, clean old chairs and re-use what’s there. But if you wanna’ go all keener on me,you’d better go Google how to do all that other stuff.
STEP FOUR: ASSEMBLE YOUR CHAIR.
Now, before I proceed you should know why I wanted to upholster these particular chairs. It’s because of their wooden frame, and because the fabric is in “panels” on the seat back. I’ve upholstered a chair with construction like this before (a Louis style chair), and it is infinitely easier than doing a chair where the staples are all hidden (like my wingback chair which is STILL in process after almost a year.) Because with chairs like this, you just staple away then cover the staples with glue and cord.
For the seat I stretched the fabric over the seat, tucking in the corners around the legs, and stapling it in place. Once you’ve positioned the fabric, put only a few staples on each side at first so that you can adjust the fabric as needed. After that you can staple it like you’ve never stapled before.
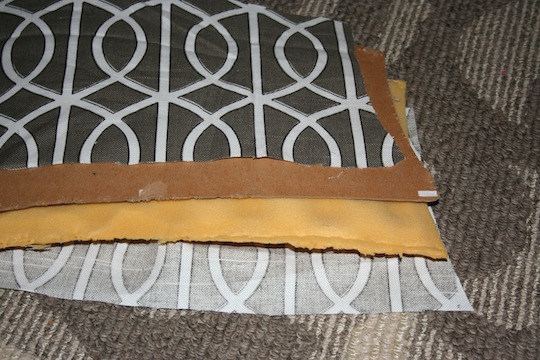
For the back panels there are four pieces:
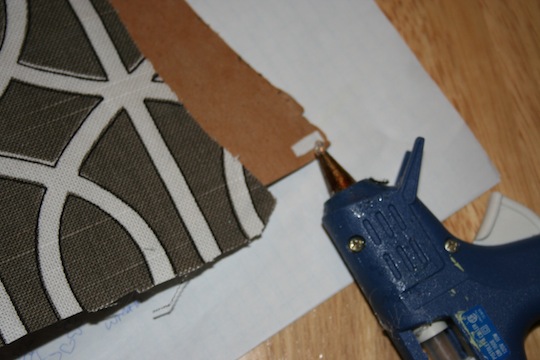
There is the fabric that faces out on the back of the chair, a piece of cardboard to back it, a piece of foam for the inside of the chair, and the fabric that faces the inside of the chair. I start by dotting the cardboard with a bit of hot glue and positioning the outward-facing fabric onto it.
I place the cardboard and fabric into the frame. (This should fit snugly and stay in place on its own.) Then I line up the inside fabric on the foam and pin that onto the cardboard. I attach it with a staple or two on each side and make sure it is positioned properly. Once I confirm that it is I staple the snot out of it.
As far as staplers go, I’ve found it useful to have two staplers on hand: I have my electric staple gun loaded with heavy-duty staples, and my manual staple gun with a lighter weight staple. Depending on the part of the frame I’m stapling it to, the position of the staple, etc. I tend to use both. And if you have access to an air-compression stapler USE IT. Life will be much easier. And your hands will like you much better. They may even forgive you after the pain they suffered removing the old staples.
STEP FIVE: COVER THAT UGLY MESS OF STAPLES.
Since your staples are exposed you need to cover them. You can buy something called “gimp” at fabric stores – it’s a braided or twisted cord that you can glue over the staples. But you won’t be able to customize it to your fabric, and I personally feel it looks a bit dated or amateur. And c’mon. It’s called gimp. How nerdy is that?
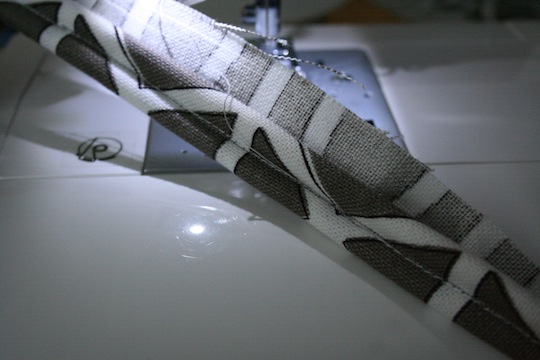
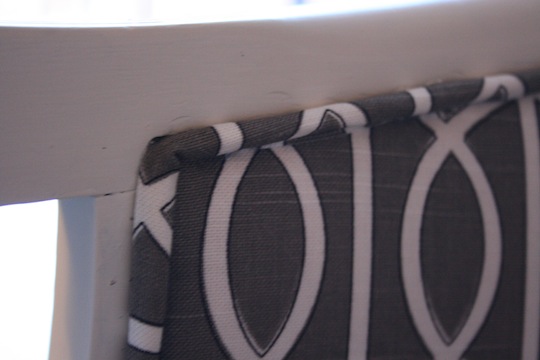
High-end furniture usually has something called “double welt cord”, and it is possible to make your own using your fabric and either double welt cord or piping cord. (I ordered my piping cord here.)
I won’t re-write the book on this one. I used this tutorial, and found it worked really well!
I ended up using the double welt cord along the seat, but opted to do a single cord along the back panels because I felt like the double cord was too thick, and too busy with all of the pattern
I attached the cord using a hot glue gun, and went back to touch it up with fabric glue (to avoid visible globs or strings of the hot glue).
STEP SIX: TAKE GLAMOUR SHOTS OF YOUR NEW CHAIRS
Well, you don’t have to do this step if you’re not blogging about it. Or if you’re not a big geek, like me. But you should stand back and enjoy your handiwork. And how fitting that what you’ve just finished creating will be perfect for kicking back and relaxing after all that hard work!








 Work smart. Not hard.


Amy
Very beautiful!!!!
yasemin
Great job…well done!!!!! wish you lived here…I’d ask you to redo my chairs:)
Mairead
Lovely. Job well done! I’ve re-done a piano bench, but this looks much trickier. If you’re just your average DIYer, then hey, maybe I can try too
Justine Taylor
Give it a whirl! I recommend starting on a cheap chair for your first time, but it’s a very rewarding thing to try!
Everything White
What a great job you did! I’m totally jealous!!! They look awesome!
Andrea Tomkins
WOW. They look amazing. Great job!
Barbara@thetreasuredhome.com
Oh my gosh! Great choices on paint and fabric! You have waaay more talent and patience than I could ever muster up. Ahh, youth!
Comfy Chair Series | Fabric Warehouse Direct Blog
[…] tub chairs were found by Justine of the blog Used Everywhere and she had big plans for them! Are you ready for the […]
Shannon
Stumbled upon your blog, and it’s really a fun read! Good luck w/ everything! Positive vibes sent your way!
debra
I am astounded at your expertise as a confessed untaught newbie, these chairs look absolutely lovely. Your understanding of the importance of fabric placement (centering) is not always considered when tackling this task and I applaud you. Love the fabric you chose and the detail that you lavished on your work and the instruction and photographic evidence is an enormous help to others. If I may make a suggestion and please note this is not a criticism, that when creating your own cording to cut your fabric on the bias (diagonal) first as this will make the final covered cording much easier to manipulate especially around corners and when finishing the attachment to cut the cording also on a diagonal (both ends) to create a slight covered (extra fabric on one end) stagger (albeit smooth) finish to the edging. I do hope this added info makes sense for you. That is a little bit of divine info a once kind stranger passed onto me and I am for ever grateful. Please keep up the great work, you definitely have the eye of a professional, good luck and I look forward to more in the future.
From now a new follower.
andrew@the best chairs glider
Thanks for the tutorial! I have a chair that is a bit wobbly. So I am going to see if I can dislodge one of the rungs, so I can re glue it. Any suggestions on how to remove it?