Craft-time! make your own personalized stamp
Well hello boys and girls! Get out your linocut tools and I want to see good posture at those craft stations! Today we’re going to make our own stamps.
I actually learned how to do this in Grade 7 art class. Maybe it was Grade 8. What is the grade where the teachers think you’re responsible enough to handle sharp objects? It literally scarred me as a child, which is why I wouldn’t recommend this project for the kiddies, and sternly tell you TO BE CAREFUL! But anyway, it can be used for so many different things so I just had to share!
You can make any design you please and use your stamp for whatever purpose, such as fancying-up your snail mail, making personalized stationary, or even to make a variety of them for the kids to use to make their own art projects.
Here’s what you need:
- – Lino. It kind of feels like an eraser and can be found at any arts or crafts store. There is a thicker, more rigid lino block, but I suggest the “speedy cut” variety. It’s much easier to work with and a slip of the linocutter is less likely.
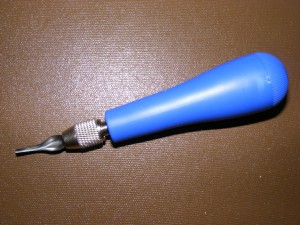
- – Lino Cutter
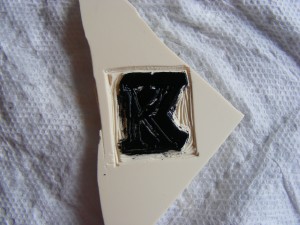
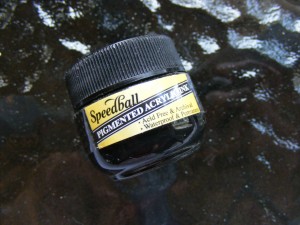
- – Inkpad, or liquid ink and a paintbrush
- – Pencil/pen
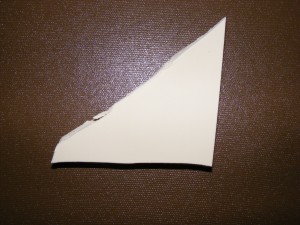
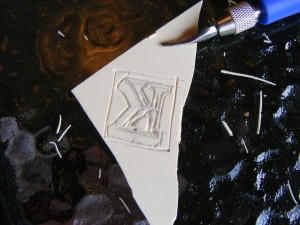
Mine is a scrap piece, which is why it is shaped like it is. Normally they are square or rectangular.
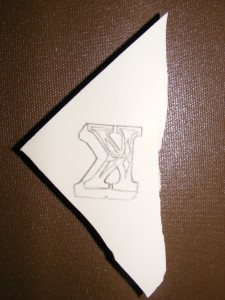
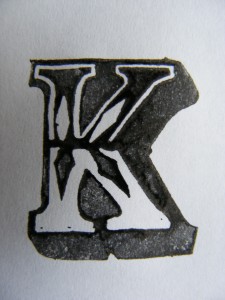
If you are making a design involving text like mine, make sure the text is backwards (so that it will print forwards). You can freehand this or use whatever technique you want to trace an image. Tracing an image in pencil, place the traced-side down on the lino, then scribble all over the back to transfer the lead to the lino will work well!
Make sure you plan ahead which areas will be in relief and which areas will be lowered.
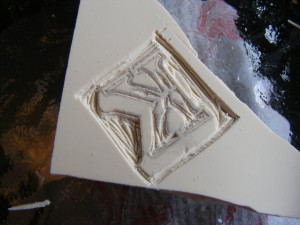
Step Five: Carve out the areas around your image so that they will not be printed. If you are using an inkpad, it is probably easier to just cut away all of the excess around your image.
David Spragge
You really put your unique stamp on this project!
Katie Bresner
I sure did!