Customize your own holiday paper
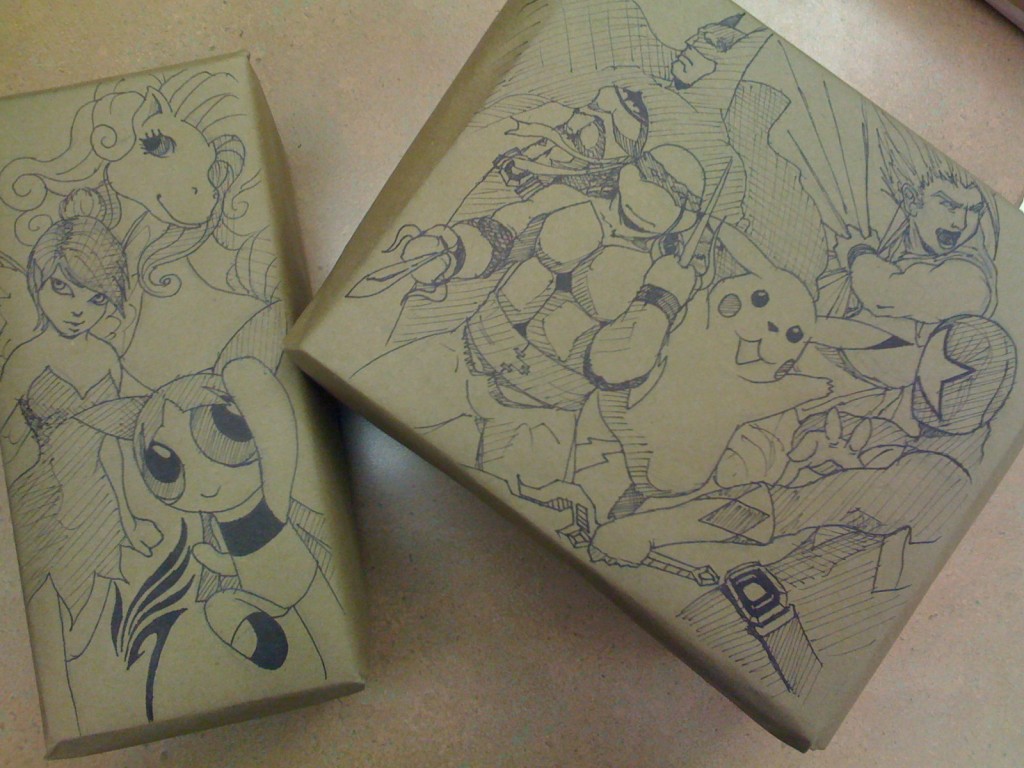
Last week Andrea impressed with a creative little customized gift box. I really liked that you could rip a page out of just about anything you could find, from National Geographic or Adbusters to a clipping from your local newspaper. Then I got thinking, how could you do the same for all of your holiday gifts? The answer that I found wasn’t necessarily orignal, but it’s something that my family hadn’t done before. You see, we would end up buying several rolls of expensive paper and in the end, everyone’s gifts would look the same. I never complained about it at the time, but it would have been so nice to get something that was created just for me.
So here’s an idea for customized wrapping paper that I’m sure has been done a thousand times before, but that I nevertheless found inexpensive and endearing.
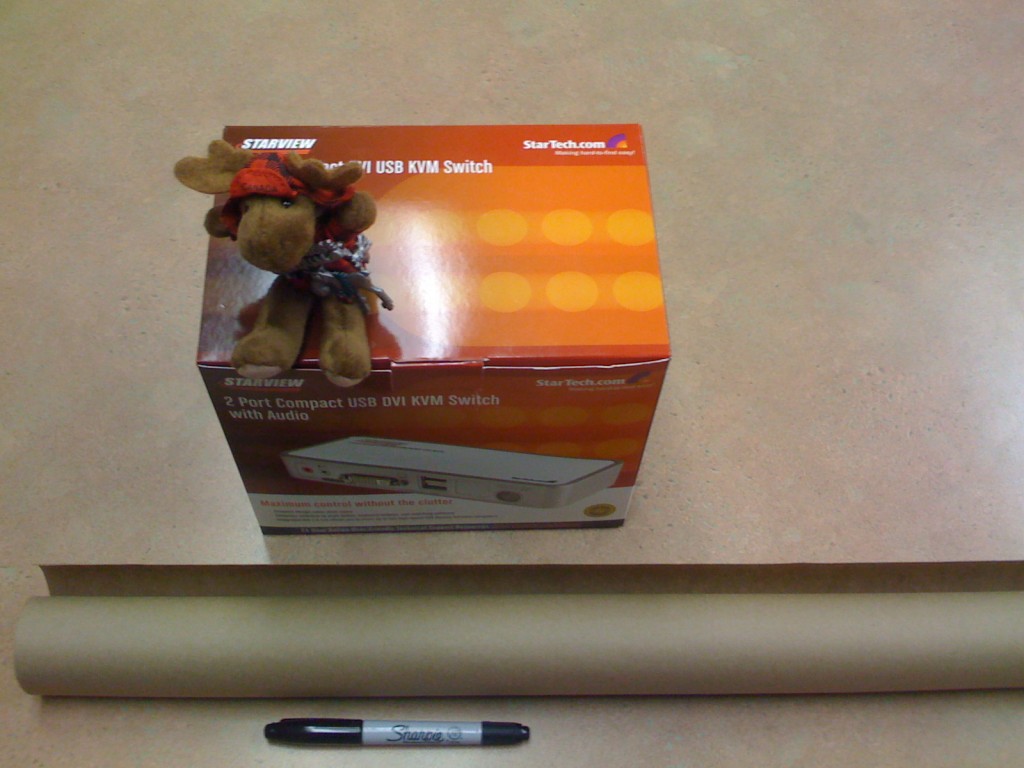
Step 1) Supplies you’ll need:
- Craft Paper – I found a huge roll of brown craft paper at the local post office for $5, you’ll be able to too. It’s about 10 times larger than your average wrapping paper and 10 times cheaper. This will last you through Christmas, Hanukkah, and Kwanzaa.
- Sharpie Pen – Simple enough, right? There’s really all the room in the world to play around with your weapon of choice. Crayons, pencil, markers, whatever.
- Tape – For wrapping purposes of course.
- Gifts!
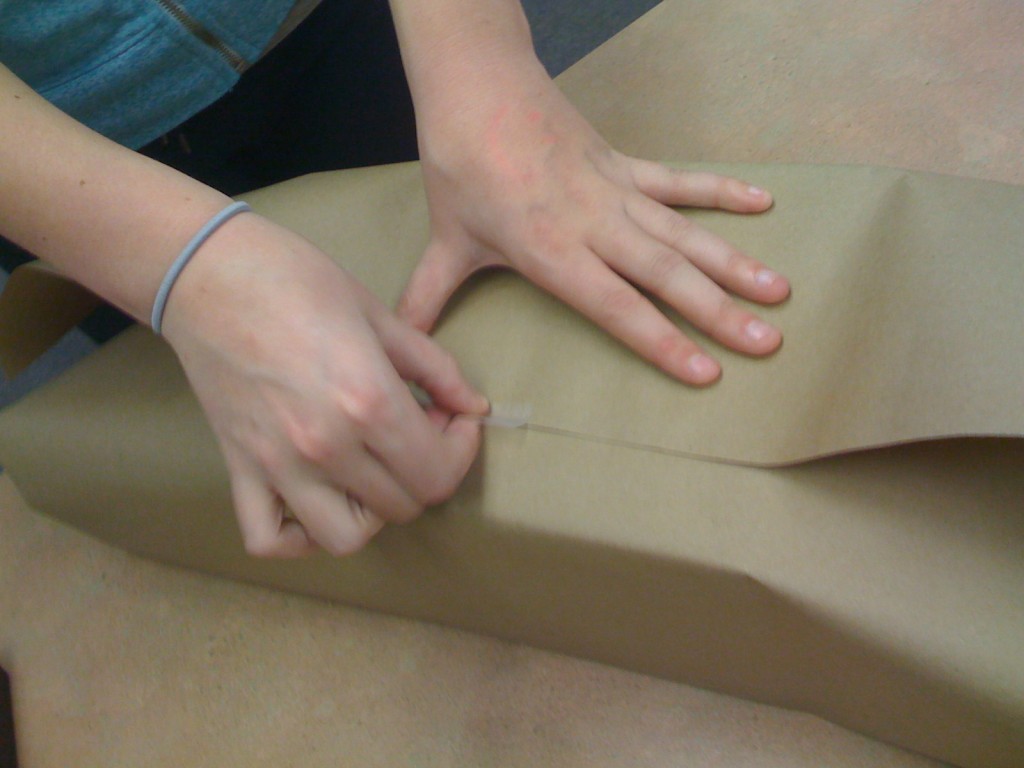
Step 2) Wrap your gift
You’ve done it year in and year out, so I won’t go over the basics of gift wrapping. The important thing to keep in mind here is that you want to wrap before you draw. Placement is everything and you’ll have a tricky time lining up your swords and princess dresses if you do it in reverse.
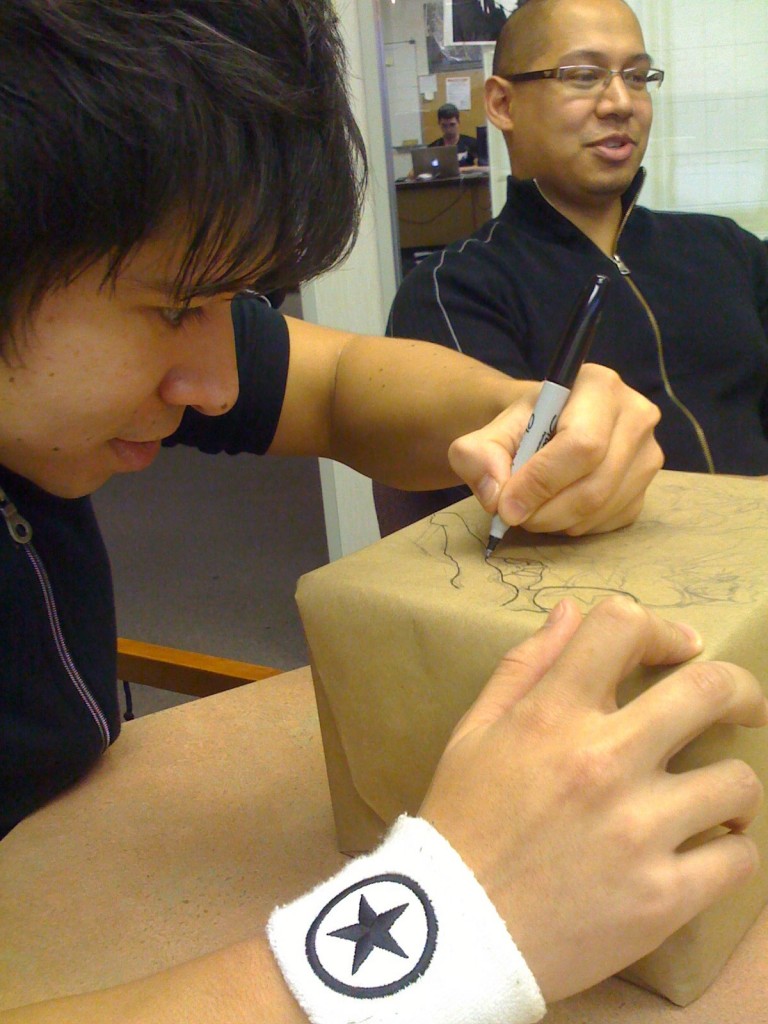
Step 3) Draw, paint, sculpt, sketch.
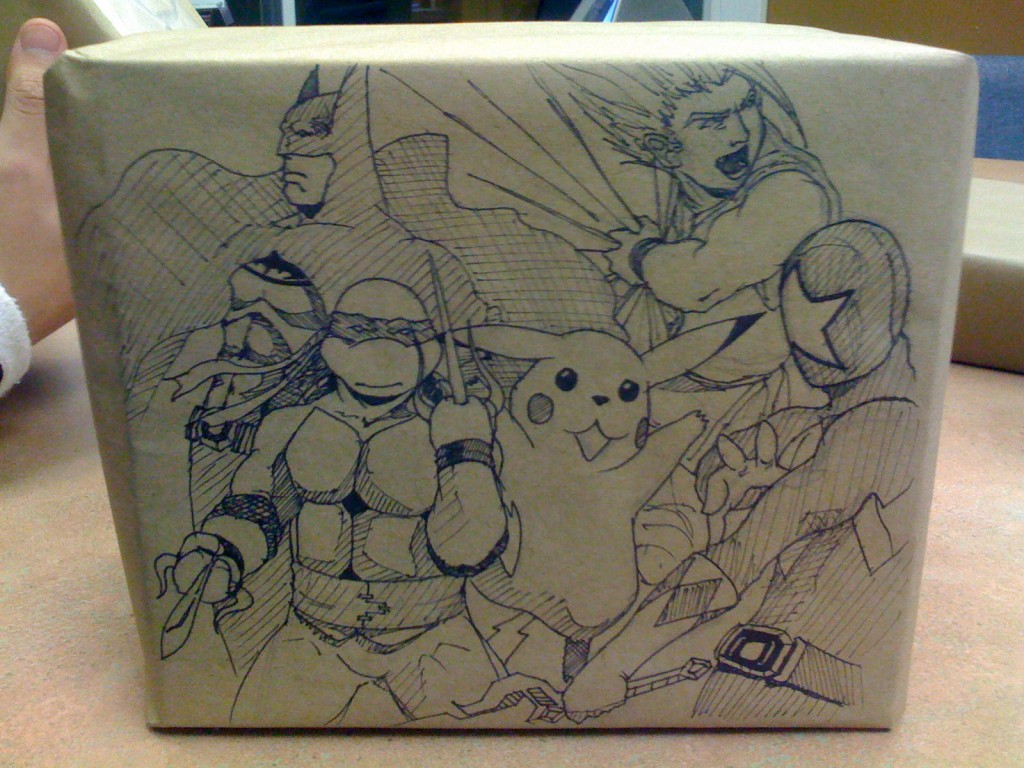
Ok, we sort of cheated on this one. Alfie happens to have a Graphic Designer brother, so we pulled him in for some wrapping paper handy-work (check out Ryan’s other work at www.designrb.ca, it’s definitely worth a look). You certainly don’t need a professional to do the deed. In fact, rough sketches and bad drawing can be even more endearing. The goal here is to pick up a utensil and try your best (and no one said tracing is a sin).
Step 4) Present the presents
When it comes time to reveal your masterpiece, present the gift to your kids, significant other, or whomever and take note of their reaction. If all goes well, they’ll spend just as much time admiring the box as what’s inside.
If you’re feeling adventurous and you’d like to try it yourself, take some shots and send them in (michaelc@used.ca). I’ll post whatever I get on the blog to inspire the next group of DIYers.

 Work smart. Not hard.





Andrea
Your custom wrapping turned out really well! It totally reminded me… we used to use our kids’ preschool art as wrapping paper too. They’d come home with these giant paintings that made perfect gift wrap… really bright and cheerful for the holidays!
Sean Toohey
Looks great!
Tweets that mention Customize Your Own Holiday Paper | UsedEverywhere -- Topsy.com
[…] This post was mentioned on Twitter by Sean Toohey, UsedEverywhere. UsedEverywhere said: We just created our own wrapping paper. Check out the result and get some ideas for your own DIY holiday! http://bit.ly/eO1njr ^MC […]