Creating your own table lamp
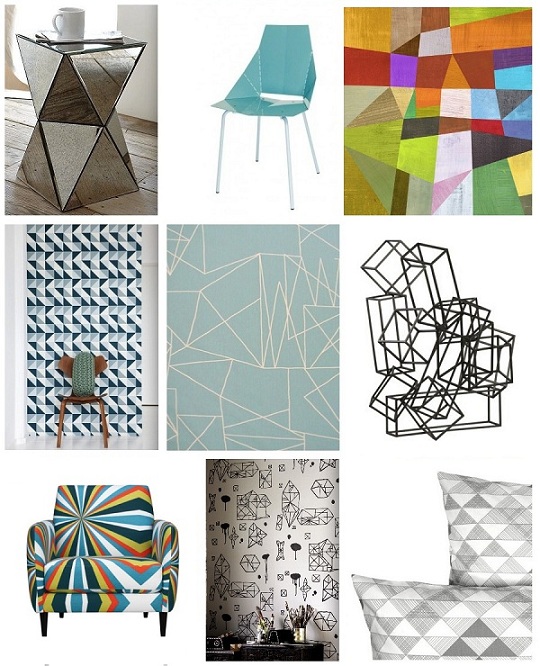
Math teachers rejoice! Geometry is IN. Quatrefoils, trellises, chevrons, herringbone… Geometric patterns are so big these days in design. And one stream of this trend I’ve noticed is a sort of random, crazy geometric look. Here’s a small sampling of what I mean:
(From top to bottom, left to right: Faceted Mirror Side Table from West Elm, Real Good Chair from BluDot, Bold Geometry Print from Twoems on Etsy, Remix Wallpaper from Ferm Living, Buddy 04 fabric from Designer Fabrics Online, Cubist Sculpture from CB2, chair from CB2, Parlour Bold Chair from CB2, Random Geometry Wallpaper from Nama Rococo Wallpaper Studio, ISO Grey Bed Linens from RosenbergCph)
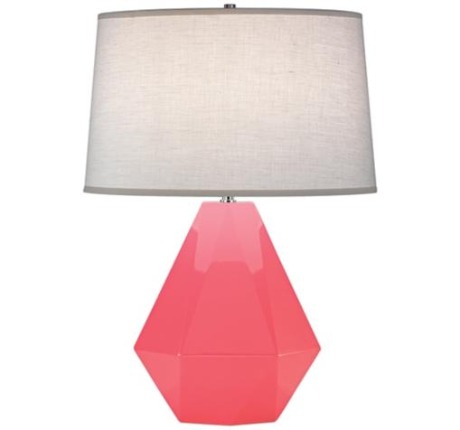
This trend is also seen in a table lamp I’ve seen all over design blogs and magazines:
(The Robert Abbey Delta Table Lamp at Lamps Plus)
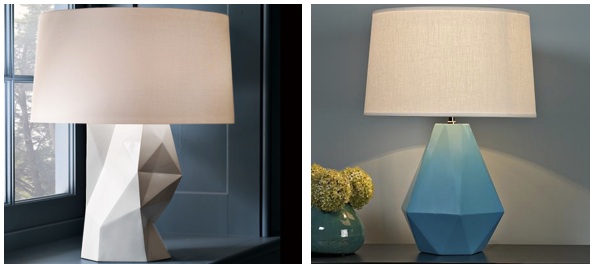
This faceted lamp comes in a rainbow of candy-coloured lacquer finishes, and its lines are very on trend. Its geometric shape isn’t alone on the marketplace, either:
(Faceted Table Lamp from West Elm, Sizzling Colors Geometric Ceramic Table Lamp from Shades of Light)
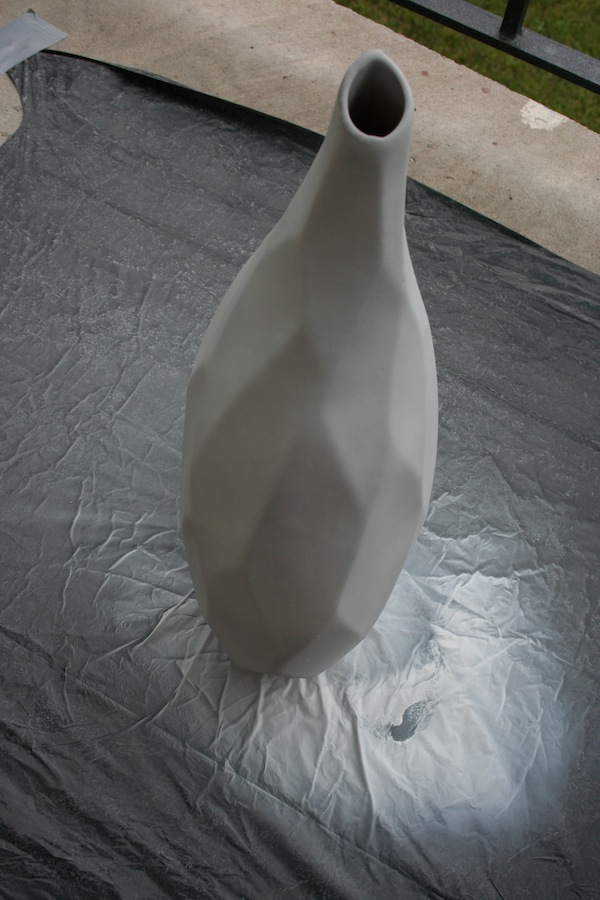
So when I found this angular vase that echoed the gemlike shape of the Delta lamp (and I saw the $10 price tag) I was inspired!
I could take this yucky burnt orange iridescent vase and transform it into an oh-so-trendy jewel of a lamp. I’d seen lamp kits at hardware stores and have since been surfing my local Used.ca sites for the perfect vase to transform into a lamp… this was my chance!
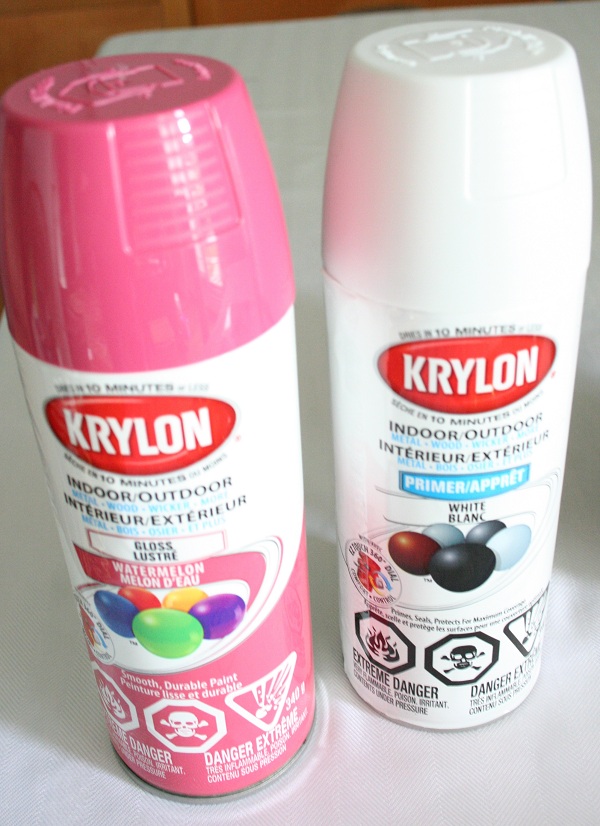
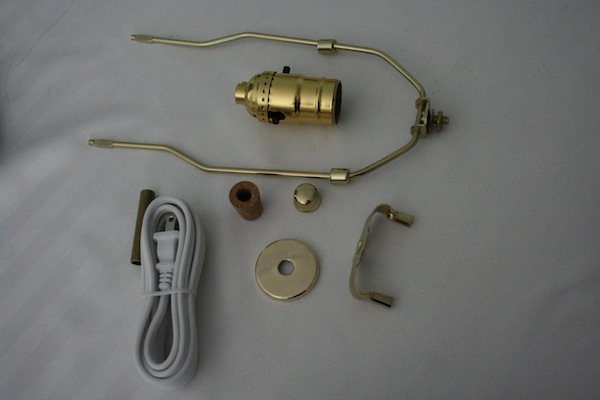
First I gathered the supplies:
And I got to work!
STEP ONE: DRILLING
For some reason I was really nervous about this step. I envisioned shards of ceramic vase flying through the air like shrapnel. So after holding my vase in one hand, and my drill in the other, I put them both down and turned to the reliable advice of an old friend:
In my search for vase-drilling knowledge I discovered some handy tips:
- On glossy surfaces use sandpaper to get rid of the top finish and to avoid drill slippage. (I don’t even want to know the statistics on yearly deaths due to drill slippage.)
- Use masking tape over the spot you plan to drill to avoid shattering. (I get 10 points because I’d already done this.)
- Place your vase or object on a thick folded towel (or I used a couch pillow) to cushion the vibrations and steady your drilling.
- Drill a hole with a smaller bit first, then re-drill it with a larger hole that will fit the size of your cord.
Oh, and don’t forget to drill the hole on the bottom side (not the very bottom) so that the cord can come out without toppling the vase.
Duh.
But I know this girl who tried making a crazy pink lamp and she almost made that mistake. Almost.
STEP 2: PAINTING
This is the fun part, in my opinion. Now, depending on the object you choose to make your lamp out of you may need to refinish it in a different way, or may want to leave it as is. But a coat of clean shiny spray paint can quickly and easily make your lamp look modern… and that’s just what mine needed.
So, pick your colour of choice from the spray paint aisle. I considered a bright apple green, but it was out of stock. And I thought about a pretty turquoise, but that’s pretty safe for me (I’d paint everything turquoise or white, if I could). So I decided that since this project was to show how to affordably participate in trends I should try to emulate the
coral-y pink lacquer seen in the picture of the Delta lamp (which, by the way, is Pantone’s colour of the year for 2011, so it is reeeally trendy.)
I picked Krylon’s “Watermelon” in gloss finish.
When spray painting I recommend using a primer – especially if your surface is glossy, like my vase was, and you don’t want to sand the underlying surface.
And always paint in stages – adding one light layer of spray paint at a time to avoid dripping. Don’t forget to read the instructions about drying time and when to add new layers of paint too, as this can vary from brand to brand and result in funky finishes if not observed.
STEP 3: WIRING
At this point (or in between layers of spray paint) unpack your lamp kit and familiarize yourself with all the pieces and the instructions.
However, if you purchased the Atron lampmaking kit from Rona you should probably grab your keys and your receipt, drive back to the store, and return it. I’m pretty sure that the instructions, the picture on the package, and the actual pieces are all different. And the instructions make no sense. And there is no marking to tell you which cord is hot (which, I found out later, is sort of critical. In fact, I should say that if you’re a real electrician, or my mom, you should probably stop reading this now.)
Now, why drilling scared me and electrical wiring didn’t I’m not sure. Probably should have checked with my old pal Google again once I realized the instructions weren’t very clear. That probably would have saved this inquiry:
So, after some trial and error, one blown extension cord socket, and two zaps later, this is what I figured out:
 I finally got all of the pieces in order and threaded through the lamp base. I also discovered that there were absolutely no markings to indicate which wire should be wrapped around the brass screw, and which one should be wrapped around the silver one. And this matters. Because if the “hot” wire is wrapped around the wrong screw you can electrocute yourself. Maybe even twice. But in the end it’s worth it, right? Because you’re still alive and behold! There is light!
(But seriously, check the lamp kit before you buy it, and make sure that one side of the cord has some sort of marker on it to indicate which wire is hot.)
And now, having survived flying ceramic shards, spray paint fumes, and electrocution you get the wonderful privilege of attaching the lamp harp and shade (which can be purchased at stores like HomeSense or Wal-Mart for about $10-15, depending on the size) …and voila!
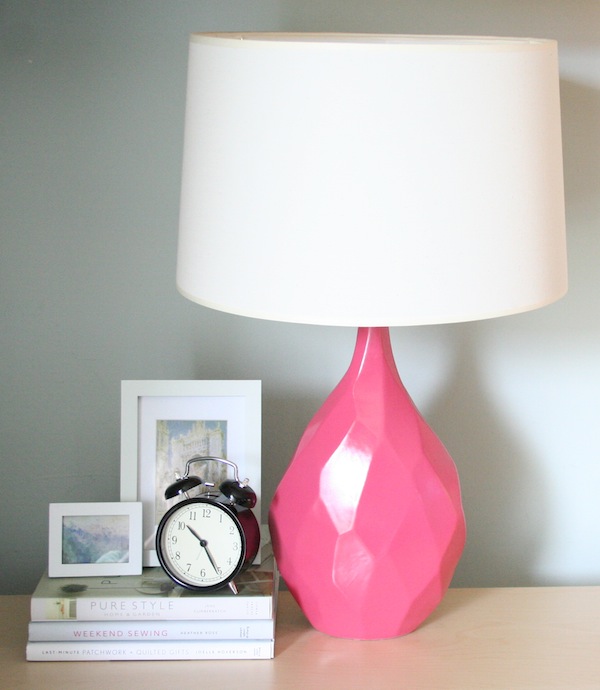
Your very-own, one-of-a-kind, trendy-designer-style, hand-made, ugly-turned-pretty table lamp! Hooray!
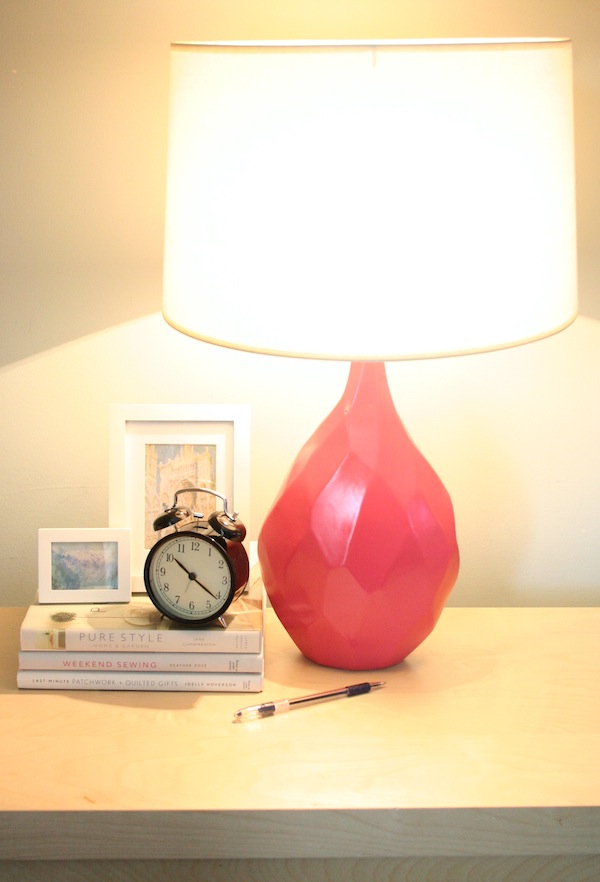
And check it out:
No flames, sparks, or lightening bolts.
Yesssssss.
When all is said and done (and the tingly feeling of electrical currents is gone) I would definitely try this project again. And I recommend you do too, since you’ve learned from my experience. Now that you know it can be done you can surf your local UsedEverywhere page for the perfect object to turn into a trendy lamp!
P.S.
- Need some style inspiration? You can check out this post for some modern table lamp looks for your vintage vase!
- Want someone more reliable than me who doesn’t get electrocuted multiple times to teach you how to do this? Check out this video tutorial I found (post-electrocution) from Canadian House & Home.
Useful links
Looking for stuff to upcycle? Head to our furniture category. Vases and lamps are usually found in Household>Accessories.




Jennifer Aikman
IMHO this would make a pretty awesome lamp. Now all I have to do is convince my parents in Regina to buy it for me and send it west…
Justine
That would be awesome! Animal vases, sculpture ad lamps are big right now. I saw a horse head vase in a store that would have been amazing!
Top 15 Before & After Furniture Re-Makes - DIY Inspiration
[…] & ORIGINAL POSTS Green Energy: ImpatientlyWaitingForPatience.blogspot.com Prettier in Pink: UsedEverywhere.com Ray of sunshine: PlumLife.typepad.com Bright White Light: ApartmentTherapy.com Rope Re-make: […]
Maritza Rodriguez
what kind of drill bit did you use?!
i love this project!!!!!!!!!
Justine
Hey! I used a masonry drill bit.
Funky Furniture Feature | Simply Salvage
[…] often than not you’ll have to take it to the next level to get a funky piece for cheap. This DIY Vase Turned Lamp project is one I plan to take on this month! (Now I’ve said it so I have to do it ) Get a […]
gwen yeo
I already make one with bamboo stick & A4 paper.
Chantal {luxxury livving}
Wow, this turned out so well! It’s adorable, job well done… and in pink too, my favorite color.
Michael
How did you electrocute/shock yourself? Was the lamp kit plugged into the socket while you were assembling it? I’m planning on doing a similar project, but I wanna prepare myself for any shock. lol