DIY magnets
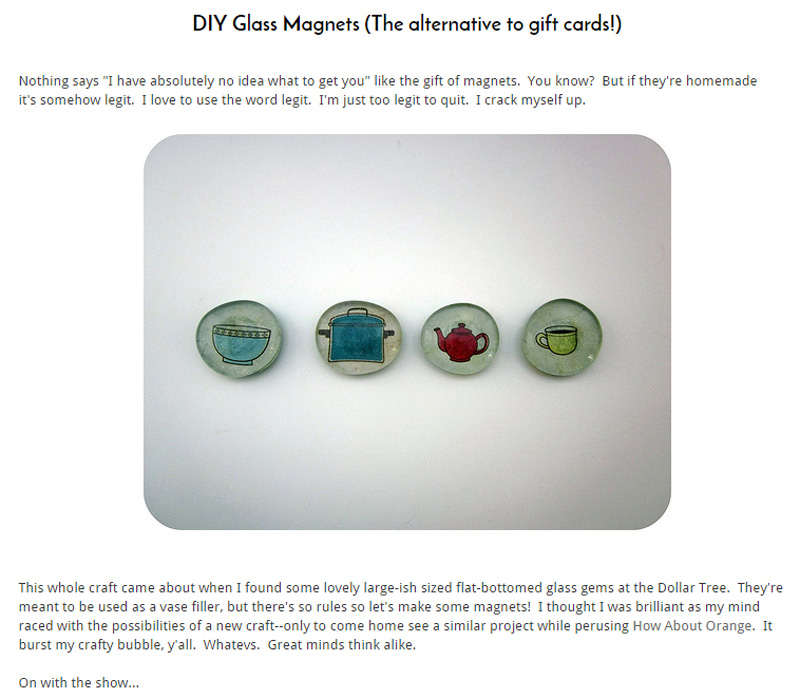
A friend of mine gave me some oh-so-cute DIY magnets as a gift and I couldn’t get over them. Because she made them! I’ve attempted to make my own but have yet to achieve this level of greatness.
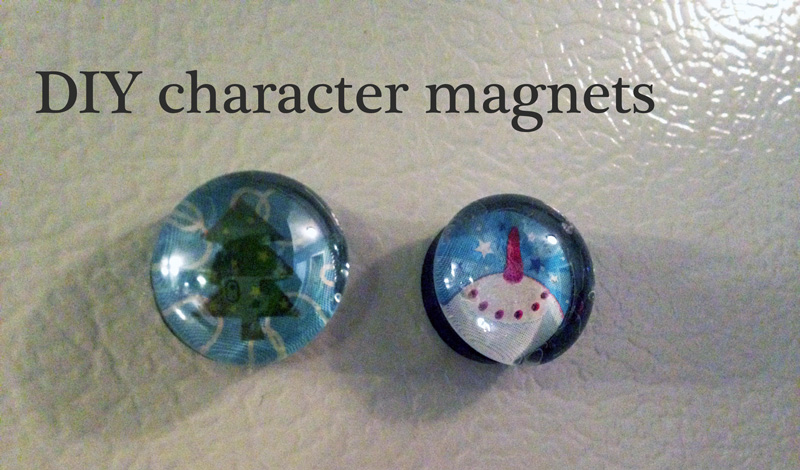
Despite my inability to achieve Pinterest-worthy magnets I thought I’d post my results as a cautionary tale. I’ve learned a thing or two in my struggle.
But before I go too far, here’s the tutorial. Tristin has great documentation outlining how to create these awesome DIY magnets. Her tip about using strong glue? This is key.
Here is what you need
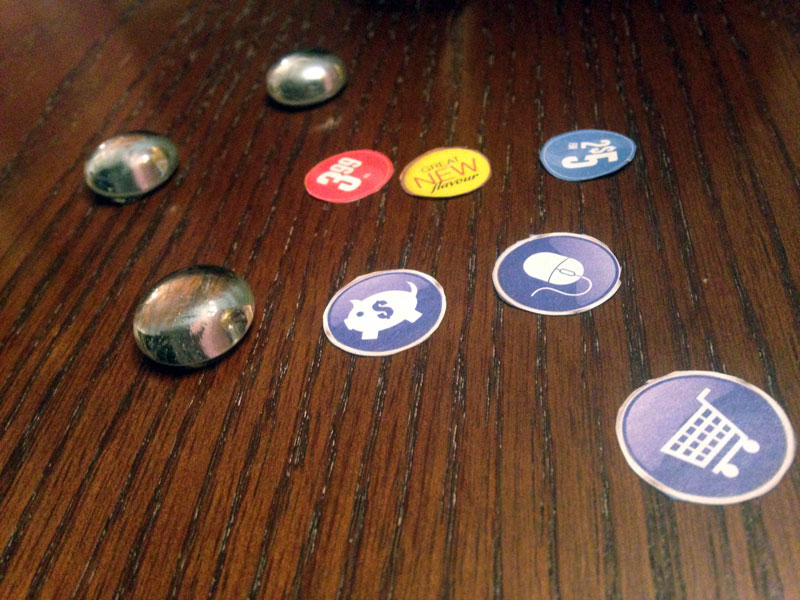
There’s a good chance you have these items in your junk drawer. Collect a few glass beads (decorative knick-knacks), small characters (make sure they’re not larger than the bead) on something like scrapbook paper—I used store flyers, Mod Podge, clamps, small magnets (not larger than the bead) and strong glue.
Here is what you do
- Cut out images
- Mod Podge images onto beads and allow to dry (around 30 minutes)
- Affix magnets to beads using strong glue. Clamp and allow to dry
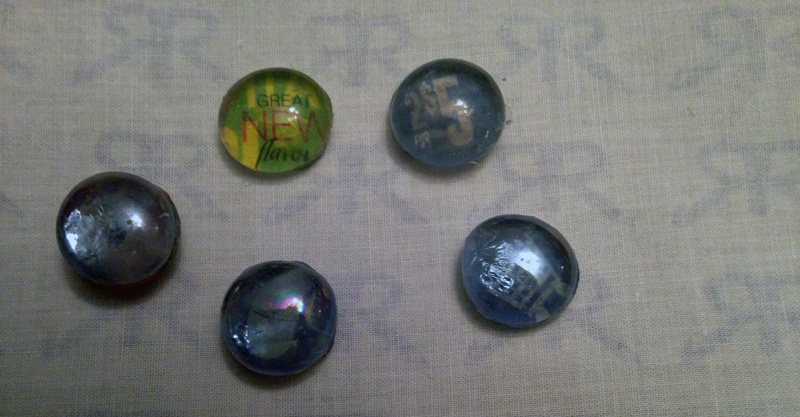
Where I went wrong was thinking I could use any old glue. I started with silicone, which was a big, messy failure. Since it wasn’t affixing I thought perhaps my heat gun would be a help but instead of drying the glue it discoloured the beads. Oops. Next I tried spray glue. Although it worked it also added a film to the beads, making them cloudy. My last try was using a glue gun. Tristin’s tutorial says not to use this glue but since I wasn’t using heavy magnets I thought it might work and it did.
But the damage was done.
The good news is I have a lot of beads, flyers and magnets and I’m determined to make these as gifts until further notice.


