DIY seed balls
 The birds are singing, the sun is shining – spring is finally here! …sincere apologies if you’re still buried under snow. Spring is coming for you soon.
It’s time to start thinking about what to plant in the garden and get digging. But before you strap on your wellies and go digging about, how about getting your hands dirty first?
These seed balls are a super handy and fun way to plant your seeds. And they also make fantastic gifts! With just a few items, a bit of time, and lot of hand washing, you can make seed balls to plant in your own garden, give away to friends, or maybe even drop a few into an empty public lot (shhhh…I didn’t tell you that).
Here’s what you need:
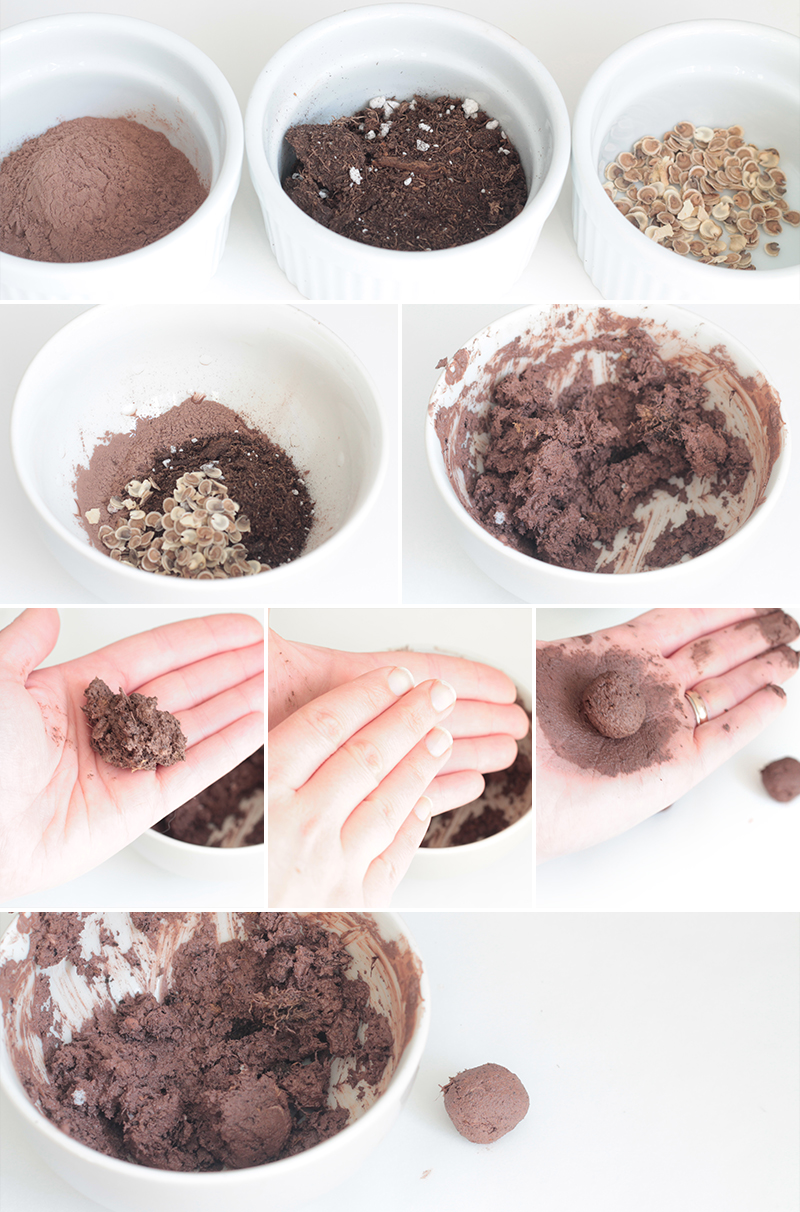
Powdered red clay
Compost or potting soil
Seeds
Water
Hint: You can find powdered red clay at craft stores, but it’s much more expensive. Instead, try calling around to local pottery stores. They’ll often sell large bags at a cheaper rate.

1 You will need 2 parts clay and 1 part each of soil, seeds, and water. So for example – 2 cups clay and 1 cup each of soil, seeds, and water.
2 Mix all the dry ingredients together.
3 A bit at a time (1/4 cup if you’re using above measurements), add the water to the dry mixture and stir thoroughly. Keep adding water until you reach the consistency of cookie dough.
*Fixing the consistency is easy: if the mixture is too runny, add a bit each of clay and soil. If it gets too dry, add a touch more water.
4 Place a small spoonful of the mixture in the palm of your hand.
5 Roll the ‘dough’ between your palms to create a ball. Depending on the size of the seeds, you want it to be between the size of a jellybean to a quarter. The larger the seeds, the larger the ball.
6 Lay out the balls and let them dry for 24 hours.
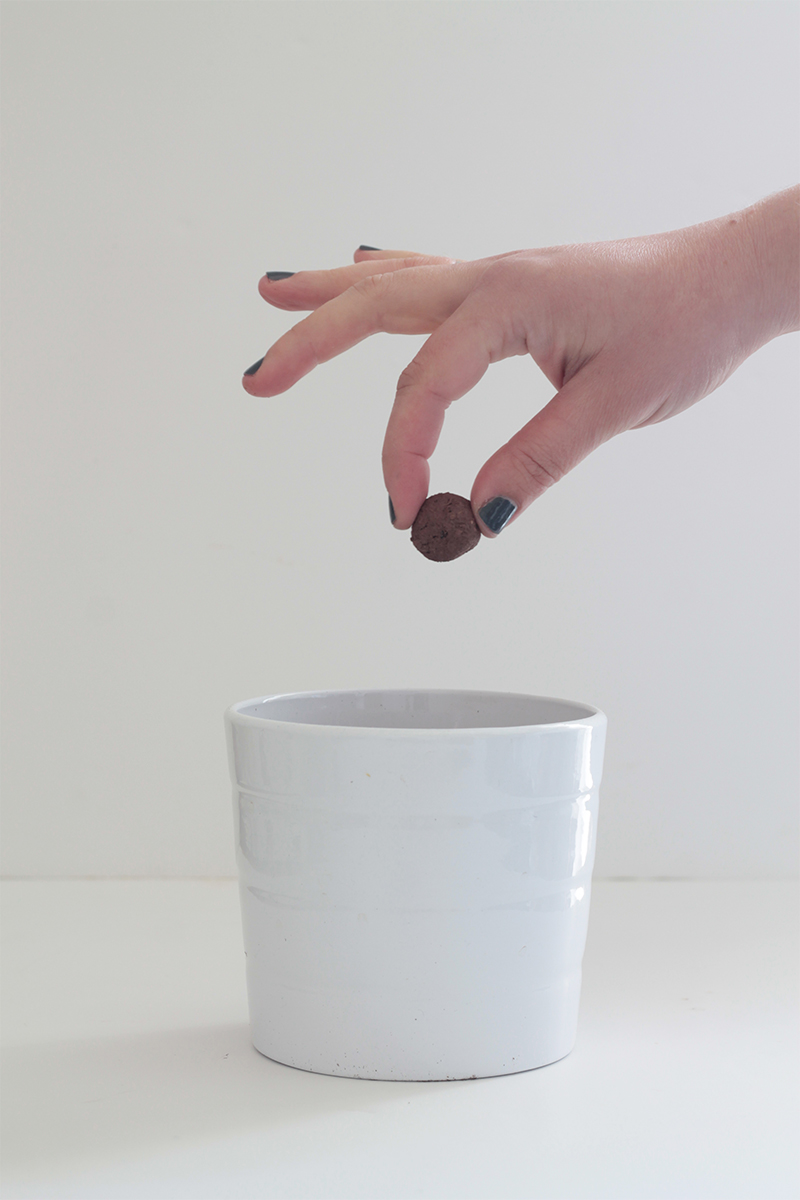
7 Start planting!


 Work smart. Not hard.


