DIY tin can pencil holder
 Psssst. School is coming.
I know, the summer just flew by! You may be slightly in a panic thinking about all the school supplies you need to buy to make sure your kiddos are well outfitted.
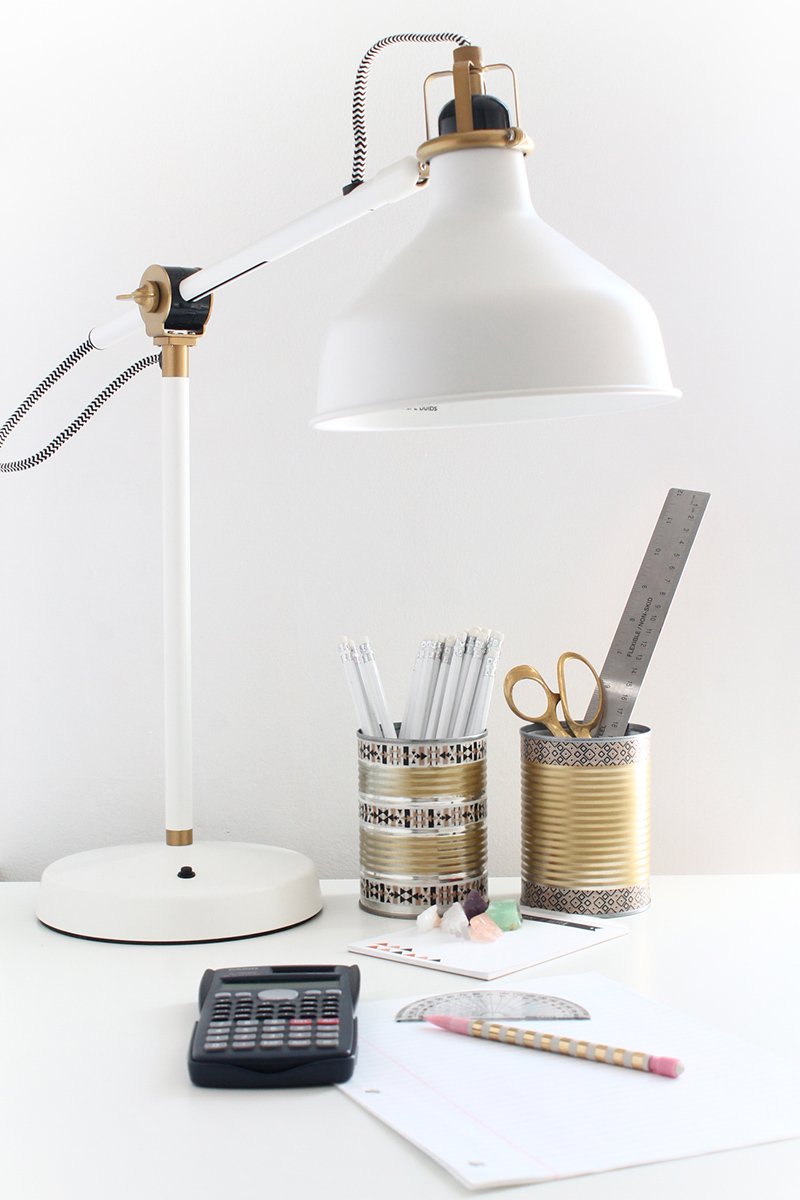
Well, as far as their study desk at home is concerned, you don’t need to look any further than your recycling bin. With a little bit of spray paint and washi tape, you can glam up a tin can in just a few minutes. Voila! You have yourself a chic pencil holder (or even flower vase).
Materials
- Tin can
- Steel wool
- Spray paint or acrylic paint
Optional materials for decorating
- Painter’s tape
- Mod podge or hot glue gun
- Sequin trim
- Feathers
- Washi tape
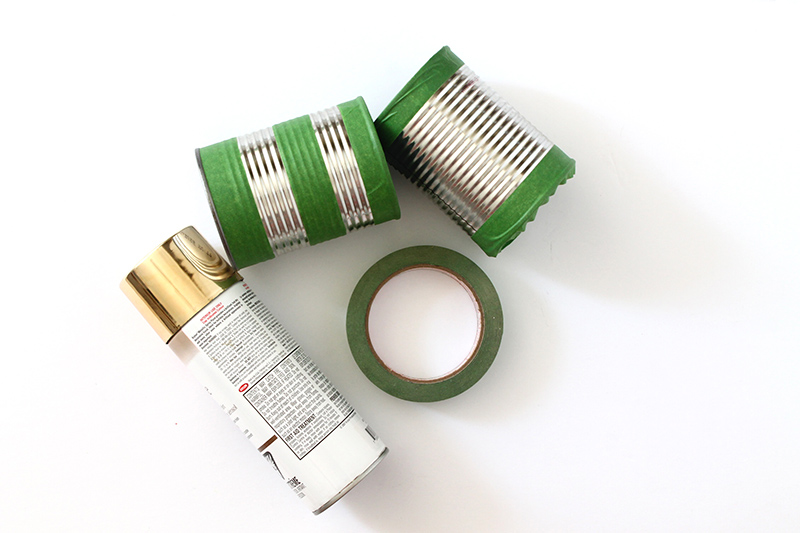 1. Thoroughly wash your cans in warm water, removing all paper and excess glue. Scrub the can with steel wool to get off any extra glue and to rough up the surface for paint to adhere to. Allow to dry completely.
2. If you choose to create stripes, like I’ve done, use painter’s tape to mark off parts of the tin can you want to remain silver.
3. Spray paint your tin can outdoors and allow to dry for the time indicated on the spray paint can.
4. Remove painter’s tape.
5. If you wish, you can further decorate your tin can with washi tape, as seen in the photos, or turn it into a fun art project with your kids by adding some paint, feathers, stickers and anything else you can find.
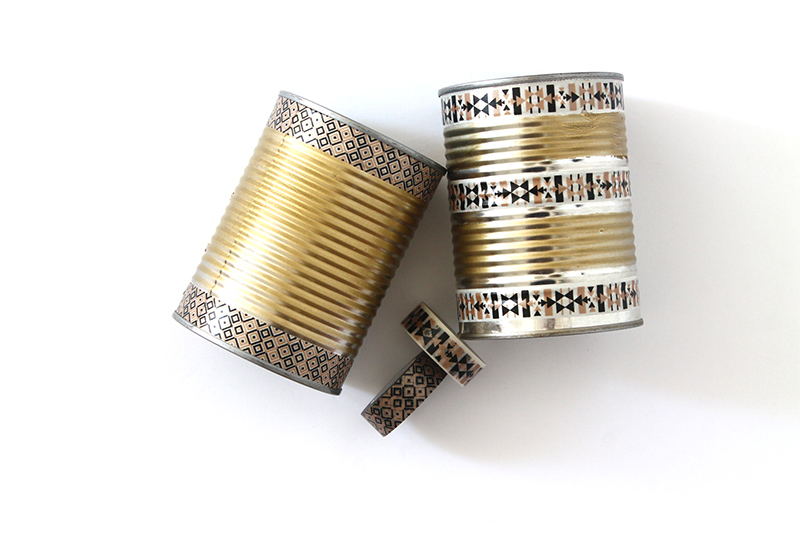 When I made mine, I used painter’s tape to create silver and gold 1 inch stripes on one can, and a thick gold ban around the other. You could forego the painter’s tape and choose to spray paint your entire can a single colour. Alternatively, you could use several colours and patterns by layering on spray paint and painter’s tape. If, for example, you wanted white and gold stripes, first paint the entire can white, then when dry, use painters tape to mark off your stripes then paint gold over top.
If you’re doing this with children and would rather not use spray paint, use acrylic paint instead. When all is dry, you could glue on sequin trim, feathers, gem stones, etc. Your options are pretty endless with this DIY, which makes it so great.
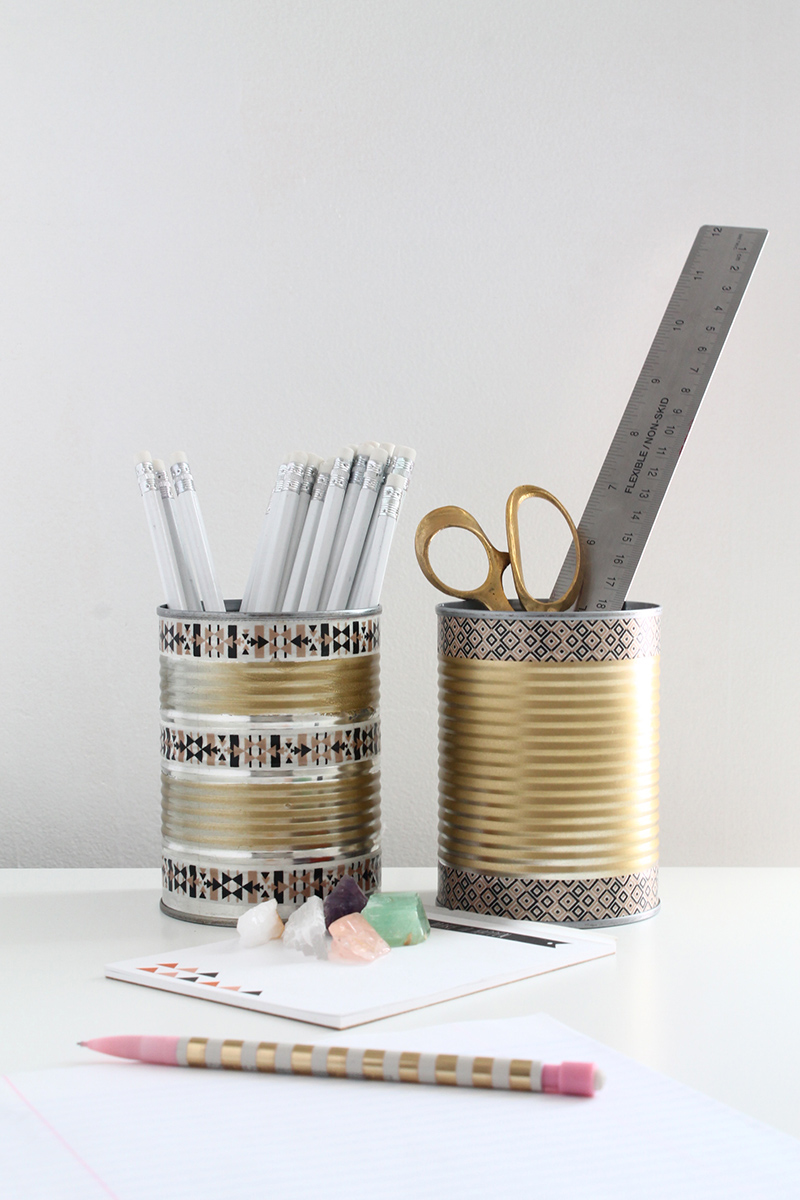 A quick and easy way to upcycle items and prettify your desk.
Now go rummage through that recycling bin!

 Work smart. Not hard.






popoola olufemi
thanks for d idea